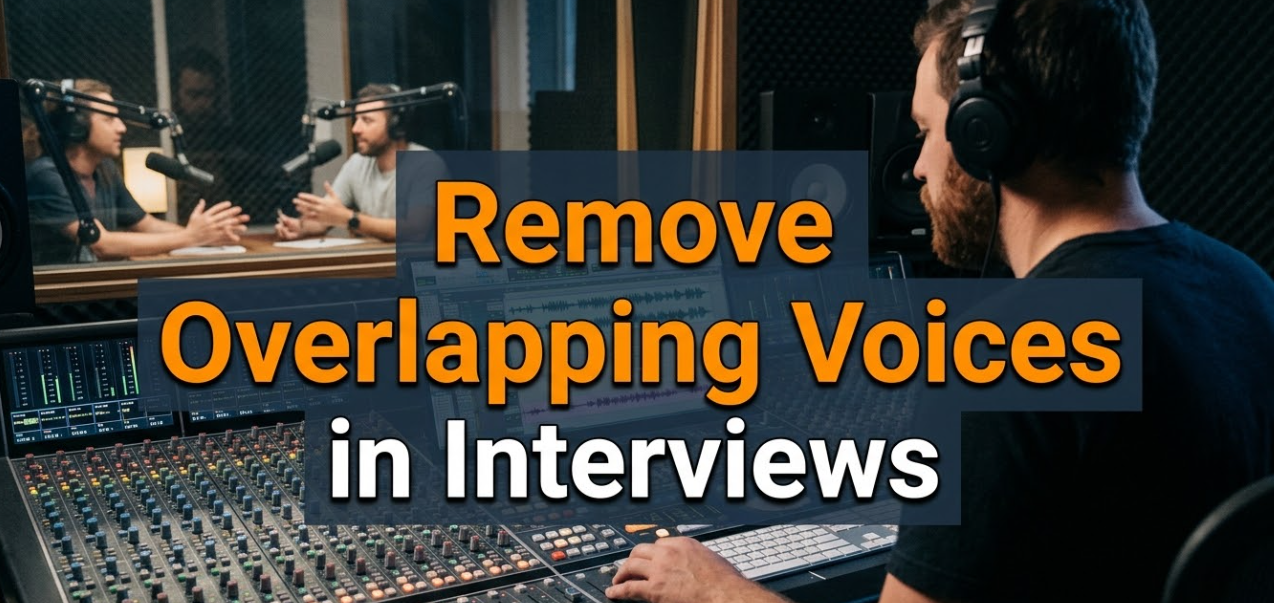
When two people speak at the same time during an interview, the result is a mess. Listeners get confused. Editors struggle to cut cleanly. Transcriptions come out garbled. If you’re a podcaster, journalist, video creator, or researcher, you’ve likely faced this problem more than once.
The good news? You can remove overlapping voices in interviews with the right tools and techniques. Whether you’re editing a raw podcast recording or cleaning up a corporate Q&A session, this guide walks you through everything you need to know — step by step, in plain language.
Let’s start from the very beginning.
What Causes Overlapping Voices in the First Place?
Before you fix a problem, it helps to understand why it happens.
Natural Conversation Patterns
Humans don’t speak in neat turns. People interrupt each other. They say “yeah” or “right” while the other person is still talking. This is called back-channeling, and it’s completely normal. But on a recording, it creates overlapping audio that’s hard to separate.
Poor Interview Setup
When everyone shares a single microphone, all voices mix into one audio track. There’s no way to separate them after the fact — at least not easily.
Remote Interviews and Latency
During online interviews (via Zoom, Teams, or phone), audio delay causes people to accidentally talk over each other. They think the other person has paused when they actually haven’t.
Lack of Moderation
In group interviews or panel discussions, without a strong moderator, multiple people often respond at once.
How Overlapping Voices Affect Audio Quality
Overlapping speech creates several specific problems:
- Phase cancellation — two voices at similar frequencies cancel each other out, creating hollow or thin-sounding audio
- Comb filtering — the waveform takes on an unnatural “comb” shape that distorts the entire frequency range
- Intelligibility loss — listeners literally cannot understand what’s being said
- Transcription errors — automated transcription software gets confused and makes mistakes
- Unclean edits — you can’t cut one person’s statement without including the other’s voice
Tools You Need to Remove Overlapping Voices in Interviews
The right tool depends on your skill level and budget. Here’s a clear breakdown:
<br>
| Tool | Best For | Price | Skill Level |
|---|---|---|---|
| Adobe Audition | Professional editors | $54.99/mo | Intermediate–Advanced |
| Audacity | Budget-conscious creators | Free | Beginner–Intermediate |
| descript | Podcasters and video editors | Free–$24/mo | Beginner |
| iZotope RX | Broadcast and studio work | $399+ | Advanced |
| VocalRemoverX | Quick AI-powered vocal separation | Free | Beginner |
| Krisp | Real-time noise cancellation | Free–$8/mo | Beginner |
Each tool has its strengths. For quick results without a steep learning curve, AI-powered tools like VocalRemoverX and Krisp are excellent starting points. For more control, Adobe Audition and iZotope RX are industry standards.
Step-by-Step: How to Remove Overlapping Voices in Interviews
Here’s the full process, broken into stages that anyone can follow.
Stage 1 — Record Correctly From the Start
The easiest way to deal with overlapping voices is to prevent them.
Use separate microphones for each speaker. When every participant has their own mic, their voice is recorded on its own channel. Even if they talk at the same time, you can adjust each track independently in post-production.
Record in separate rooms or on separate devices when possible. For remote interviews, tools like Zencastr, SquadCast, and Riverside.fm record each participant locally and upload clean, separate audio files.
Set interview ground rules. Before you start recording, tell everyone to wait a brief moment before responding. Ask them to avoid saying “uh-huh” or “right” out loud while the other person speaks. This simple step dramatically reduces accidental overlaps.
Stage 2 — Listen Through and Mark the Problem Spots
Once you have your raw audio, do a full listen-through before editing.
Mark every spot where voices overlap. Most editing software lets you add markers or flags to a timeline. Use them. This saves time later and helps you plan your edits.
Look at the waveform too. Overlapping voices often create a visually distinct spike or cluster of activity that you can spot before even pressing play.
Stage 3 — Split Tracks and Work on Each Independently
If you recorded on separate tracks (one per speaker), this is where things get easier. In your DAW (Digital Audio Workstation) — tools like Adobe Audition, Reaper, or GarageBand — put each speaker on their own audio lane.
Mute one track at a time to clearly hear each speaker. This helps you decide which voice takes priority at each overlap point.
Stage 4 — Manually Cut and Edit Overlapping Sections
For short overlaps, the simplest fix is a manual cut.
- Identify the exact start and end of the overlap
- Use the razor or split tool to cut just that section
- Lower the volume of the less important voice during that moment, or delete it entirely
- Apply a short fade-in and fade-out at each cut point to avoid clicks and pops
This technique works well when the overlap is brief — a second or two at most.
Stage 5 — Use AI-Powered Vocal Separation
For longer or more complex overlaps, AI tools are your best friend.
Tools like iZotope RX’s Dialogue Isolation feature, or online platforms with voice separation technology, use machine learning to distinguish between different voice patterns. They analyze pitch, timing, and frequency to isolate each speaker.
Here’s how the basic process works with most AI tools:
- Upload your audio file
- Select the vocal separation or speaker isolation option
- Let the AI process the audio (this can take a few seconds to a few minutes)
- Download the separated tracks
- Import them back into your main editing project
The results aren’t always perfect — especially if voices are very similar in pitch. But in most cases, AI tools make a dramatic improvement.
Stage 6 — Apply Noise Reduction and EQ After Separation
Once you’ve separated or removed the overlapping voices, clean up what’s left.
Noise reduction removes background hiss or room noise that becomes more noticeable after you cut parts of the audio.
EQ (equalization) helps balance the remaining voice. Boosting mid-range frequencies (around 1kHz–3kHz) improves speech clarity. Rolling off low frequencies below 80Hz reduces rumble.
Compression evens out volume differences, making the final recording sound consistent and professional.
When the Overlap Is Impossible to Fix
Sometimes, overlapping voices are so severe that no tool can cleanly separate them. In those cases, you have a few options:
- Cut the entire overlapping section and re-record that portion if possible
- Add a voice-over or narration to bridge the gap and explain what was said
- Use a subtitle or caption for video content, so viewers can at least read what’s being discussed
- Accept and disclose the overlap — sometimes the honest move is to note in your podcast or video that “audio quality was affected during this segment”
Transparency with your audience goes a long way. Listeners and viewers respect creators who acknowledge technical limitations.
Best Practices to Avoid the Problem in Future Recordings
Prevention is always better than repair. Here’s a solid checklist for your next interview session:
<br>
| Practice | Why It Helps |
|---|---|
| Use one mic per speaker | Keeps voices on separate audio tracks |
| Record in a quiet room | Reduces background noise that worsens overlaps |
| Use headphones during recording | Helps speakers hear each other and self-correct |
| Use remote recording tools | Creates clean, local audio files per person |
| Brief participants beforehand | Reduces accidental back-channeling |
| Monitor levels in real-time | Catches issues as they happen, not after |
| Do a test recording | Identifies setup problems before the real interview |
AI vs. Manual Editing: Which Is Better for Removing Overlapping Voices?
This is a common question. The honest answer: both have their place.
Manual Editing Strengths
- Full control over every cut
- No artifacts or AI processing errors
- Better for simple, short overlaps
- Works with any DAW you already use
AI Tool Strengths
- Handles complex overlaps faster
- Works well even for beginners
- Especially useful for long recordings with many overlapping sections
- Some tools work in real-time during the recording itself
For most creators, a hybrid approach works best. Use AI tools to handle the heavy lifting on complex overlaps, then fine-tune manually using your editing software. This saves time while keeping quality high.
You can also explore Adobe’s guide to audio editing in Audition for detailed documentation on track separation and noise reduction features.
How Different Recording Environments Affect Overlapping Voices
The room you record in matters more than most people realize.
Hard, Reflective Rooms
In rooms with tile, glass, or bare walls, sound bounces around. This creates reverb that makes voices blend together even more. When two people overlap in a reflective room, the sound waves mix and interfere in complicated ways that AI tools struggle to undo.
Fix: Use acoustic panels, soft furniture, rugs, and curtains to absorb sound.
Outdoor or Noisy Environments
Wind noise and background sounds mask speech. Overlapping voices in noisy environments are extremely difficult to separate, because the noise floor itself is part of the problem.
Fix: Use directional microphones (like cardioid or shotgun mics) that reject sound from the sides and rear.
Small, Treated Studios
This is the ideal. Acoustic treatment absorbs reflections, and close-miking each speaker means their voice is captured at high volume before it reaches the room. Overlaps still happen — but they’re much easier to work with.
Frequently Asked Questions
Q: Can I completely remove overlapping voices without any loss of quality?
In most cases, some quality loss occurs when separating overlapping voices. AI tools have improved significantly, but perfect separation isn’t always possible — especially when voices are similar in pitch or when the overlap lasts more than a few seconds.
Q: What’s the easiest free tool to remove overlapping voices in interviews?
Audacity is free and works well for basic editing. For AI-powered separation, VocalRemoverX offers a free web-based option that works without any downloads or technical setup.
Q: Does Zoom record separate audio tracks for each speaker?
Standard Zoom recordings mix all speakers into one track. However, Zoom’s advanced recording settings allow separate audio files per participant if you enable this in the settings before the call.
Q: How long does AI vocal separation take?
Processing time varies. For a 10-minute interview, most AI tools take between 30 seconds and 3 minutes. Longer files naturally take more time.
Q: Is it possible to remove overlapping voices in real time?
Yes. Tools like Krisp and NVIDIA RTX Voice apply real-time filtering during live calls or recordings, reducing background voices and improving clarity in the moment.
Q: Can overlapping voices be fixed after a recording is already mixed and exported?
It’s much harder, but not impossible. If you only have a mixed (combined) stereo or mono file, AI separation tools can still attempt to isolate voices. Results will be less precise than working with raw, unmixed tracks.
Q: What file format is best for processing overlapping voices?
Always work with lossless formats like WAV or AIFF when editing. Avoid MP3 files for processing — they’ve already lost data, which limits how much the AI or editing software can recover.
A Final Word on Cleaner Interview Audio
Removing overlapping voices in interviews takes patience, the right tools, and a good workflow. The best results always come from a combination of smart recording habits and careful post-production editing.
Start with prevention. Set up your recording environment carefully, use separate microphones, and brief your participants on speaking etiquette. When overlaps do happen — and they will — a combination of manual editing and AI-powered tools gives you the best chance of a clean, professional result.
Clean audio isn’t just a technical achievement. It’s a sign of respect for your audience. When listeners can clearly hear every word, they engage more, trust more, and come back for more.
Take the time to get it right. Your content is worth it.