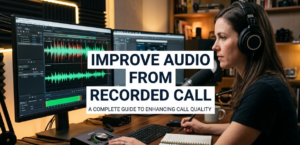
If you’ve ever hosted or attended a webinar, you already know the struggle. Someone’s microphone picks up keyboard clicks. Another speaker sounds like they’re talking inside a tin can. There’s a hum in the background that just won’t quit. Poor audio quality kills engagement fast — and that’s exactly why learning how to clean voice from webinar audio files is one of the most valuable skills you can have in 2024.
Whether you’re a teacher, marketer, podcast editor, or content creator, cleaning up webinar audio makes your recordings more professional, more accessible, and more enjoyable to listen to. And the good news? You don’t need a sound engineering degree to do it.
This guide walks you through everything — from understanding what causes bad audio to using the best tools available — so you can turn a rough, noisy recording into a clean, polished file that people actually want to listen to.
What Makes Webinar Audio Dirty in the First Place?
Before you can fix the problem, it helps to know what’s causing it. Webinar audio gets “dirty” for a variety of reasons. Most of them are completely avoidable once you know what to look for.
The Most Common Audio Problems in Webinar Recordings
| Problem | What It Sounds Like | Common Cause |
|---|---|---|
| Background noise | Hissing, humming, or buzzing | Air conditioners, fans, electrical interference |
| Echo / reverb | Voice sounds hollow or repeating | Hard walls, large rooms, no acoustic treatment |
| Clipping | Harsh crackle on loud sounds | Microphone gain set too high |
| Muffled voice | Dull, low-clarity speech | Low-quality mic, covered mic port |
| Multiple speakers overlapping | Voices blending together | No audio management during the webinar |
| Room tone | Constant ambient hiss | Recording in an untreated space |
Each of these problems requires a slightly different approach to fix. But the good news is that most professional audio tools handle all of them in one workflow.
Tools You Can Use to Clean Webinar Audio
You don’t need expensive studio gear. There are plenty of tools — some free, some paid — that can do the job well. Here’s a quick breakdown:
Free Tools Worth Trying
Audacity is probably the most popular free audio editor available. It runs on Windows, Mac, and Linux. It has a noise reduction feature that works surprisingly well for basic webinar cleanup.
Adobe Podcast (Enhance Speech) is a browser-based tool from Adobe that uses AI to clean voice recordings automatically. You just upload your file and it does the heavy lifting.
Kapwing is an online editor that includes noise removal features. Great for quick edits without downloading anything.
Paid Tools for Better Results
Adobe Audition is the professional-grade audio editor in the Adobe Creative Cloud suite. It has powerful noise reduction, multitrack editing, and spectral repair tools.
iZotope RX is the industry standard for audio repair and restoration. Broadcasters and podcast producers use it worldwide. It can remove background noise, de-hum, de-click, and even fix clipping.
Descript is a transcription and audio editing tool that also includes noise removal. It’s especially popular for webinar and podcast editing because you can edit audio like a text document.
VocalRemoverX is a specialized online tool designed to separate and clean vocal tracks from audio files, making it a solid choice when you need to isolate or refine voice recordings from your webinar content.
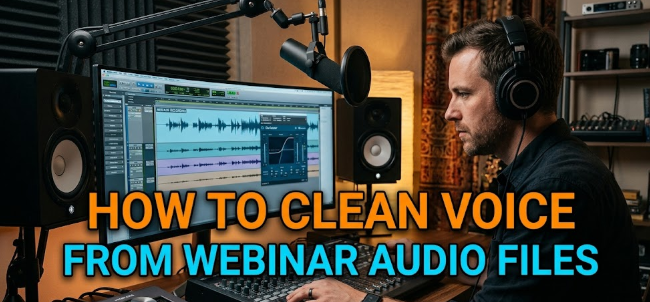
Step-by-Step: How to Clean Voice From Webinar Audio Files Using Audacity
Audacity is free, powerful, and a great starting point. Here’s exactly how to use it to clean voice from webinar audio files.
Step 1 — Import Your Webinar Recording
Open Audacity. Go to File > Import > Audio and select your webinar file. Audacity supports MP3, WAV, FLAC, OGG, and most common formats.
Once imported, you’ll see a waveform. If the waveform looks flat in some places and spiked in others, that’s normal for webinar recordings.
Step 2 — Listen First, Then Identify Problems
Before you start editing, listen to the full recording (or at least a large portion of it). Take notes on:
- Where background noise is loudest
- Whether there’s echo or reverb
- If any sections are clipped (distorted peaks)
- Whether the voice volume is consistent
This listening pass saves you time later. You’ll edit smarter instead of editing blind.
Step 3 — Select a “Noise Profile” Sample
Find a section of your recording where only background noise is present — no talking, no music. This might be the first few seconds before the speaker starts.
Highlight that section by clicking and dragging. Then go to:
Effect > Noise Reduction > Get Noise Profile
Audacity now “learns” what the background noise sounds like. This is the foundation of the noise removal process.
Step 4 — Apply Noise Reduction to the Full Track
Now select the entire track. Press Ctrl+A (or Cmd+A on Mac). Then go to:
Effect > Noise Reduction
You’ll see three sliders:
- Noise Reduction (dB): How much noise to remove. Start around 12–18 dB.
- Sensitivity: How aggressively it targets noise. Keep this around 6.
- Frequency Smoothing: Helps avoid a robotic-sounding result. Set to 3.
Click Preview to hear the result before applying. If the voice sounds too robotic, reduce the noise reduction value. If there’s still too much noise, increase it slightly. Once satisfied, click OK.
Step 5 — Normalize the Audio
Normalization makes the volume consistent across the track. Go to:
Effect > Normalize
Set the maximum amplitude to -1.0 dB. This prevents distortion while making the audio loud enough to hear clearly.
Step 6 — Use the Equalizer to Boost Voice Clarity
The built-in equalizer (EQ) in Audacity lets you enhance the frequency range of the human voice.
Go to Effect > Equalization (or Filter Curve EQ in newer versions).
For voice clarity, try this general approach:
- Cut below 80 Hz: This removes low-end rumble that muddies the voice.
- Boost around 2,000–5,000 Hz slightly: This range adds presence and clarity to speech.
- Cut above 12,000 Hz slightly: This reduces hiss without making the voice sound dull.
Small adjustments (2–4 dB) go a long way. Don’t overdo it.
Step 7 — Export Your Cleaned Audio File
Once you’re happy with the result, go to:
File > Export > Export as MP3 (or WAV, depending on your needs)
Choose your quality settings and save. Your cleaned webinar audio is ready.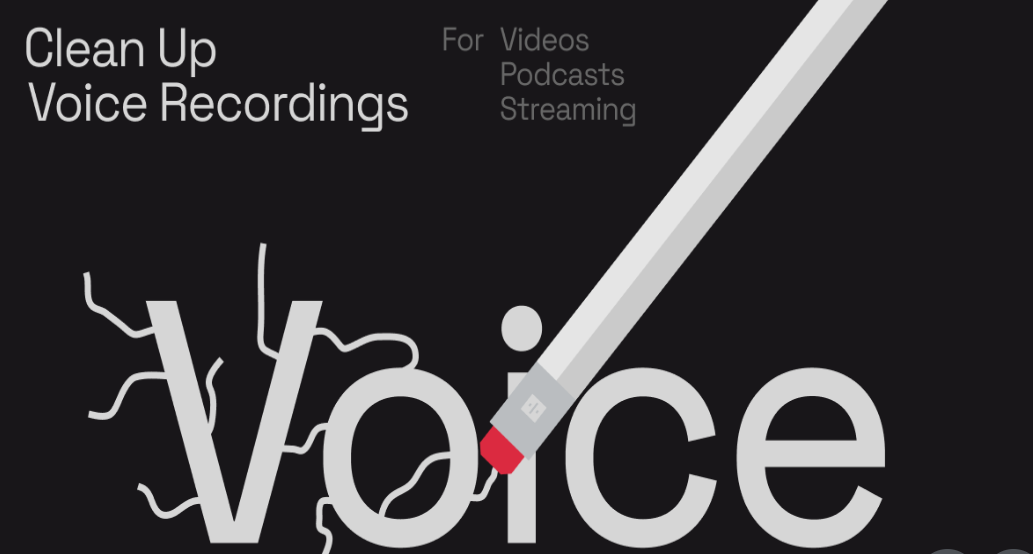
How to Clean Webinar Audio Using AI-Powered Tools
AI tools have made voice cleaning dramatically easier. You don’t need to understand frequencies or noise profiles. You just upload and click.
Using Adobe Podcast Enhance Speech
- Go to podcast.adobe.com/enhance
- Upload your webinar audio file
- Wait for the AI to process it (usually a few minutes)
- Download the enhanced version
Adobe’s AI removes background noise, improves voice clarity, and even fixes some microphone quality issues automatically. It works remarkably well for recordings where the speaker’s voice is reasonably clear.
Using Krisp (Real-Time and Post-Processing)
Krisp is an AI-powered noise cancellation tool. While it’s primarily designed for real-time calls, it also offers post-processing features for uploaded recordings.
It’s especially useful for:
- Removing keyboard noise
- Filtering out air conditioning hum
- Reducing echo in room recordings
The free plan allows limited minutes per day. The paid plan removes the cap.
Dealing With Echo and Reverb in Webinar Audio
Echo and reverb are two of the trickiest problems to fix in post-production. They happen when sound bounces off walls and surfaces before reaching the microphone.
The Difference Between Echo and Reverb
Echo is a distinct, delayed repeat of the original sound. You hear the voice, then hear it again a moment later.
Reverb is a more diffuse, blended effect where the voice sounds like it’s in a large room or hallway.
Both make the speaker sound unprofessional and hard to understand.
How to Reduce Echo and Reverb in Post-Production
iZotope RX’s De-Reverb module is the most effective tool for this. It analyzes the reverb signature of the recording and intelligently removes it.
In Audacity, there’s no built-in de-reverb tool, but you can reduce reverb’s impact by:
- Using a high-pass filter to cut rumbling low frequencies
- Applying compression to reduce dynamic range (making soft parts louder)
- Using noise reduction aggressively on non-speech sections
For severe reverb, a dedicated tool like iZotope RX is worth the investment.
Quick Comparison: Manual vs. AI-Based Audio Cleaning
| Feature | Manual (Audacity) | AI Tools (Adobe, Krisp, RX) |
|---|---|---|
| Cost | Free | Free to paid |
| Learning curve | Medium | Low |
| Control | High | Low-Medium |
| Speed | Slower | Fast |
| Best for | Custom edits | Quick cleanup |
| Voice quality result | Good with practice | Excellent automatically |
Tips to Get Better Webinar Audio Before You Even Record
The easiest way to clean webinar audio is to prevent noise problems in the first place. Here are the most effective pre-recording habits:
Record in a Quiet, Treated Space
Carpets, curtains, and soft furniture absorb sound. Hard floors, bare walls, and large windows reflect it. Even recording inside a closet full of clothes can dramatically improve audio quality.
Use a Dedicated Microphone
Built-in laptop microphones are designed for video calls, not recordings. Even a budget USB microphone (around $50–$80) will produce significantly cleaner audio than a built-in mic.
Set Gain Levels Correctly
Too much gain causes clipping. Too little makes the voice too quiet. Test your mic levels before recording. Aim for peaks around -6 dB to -3 dB in your recording software.
Use a Pop Filter
A pop filter is a small screen that goes in front of your microphone. It prevents “plosives” — the harsh P and B sounds that cause popping in recordings.
Close Unnecessary Applications
Background apps that use your CPU can cause audio dropouts and glitches in the recording. Close browsers, apps, and notifications before you start.
Common Mistakes People Make When Cleaning Webinar Audio
Even with the right tools, it’s easy to go wrong. Here are the mistakes to avoid:
Over-applying noise reduction — Too much noise reduction makes the voice sound robotic and unnatural. Less is often more.
Skipping the preview — Always preview your changes before applying them. It saves you from having to undo bad edits.
Not keeping a backup — Always keep your original audio file. Work on a copy. If something goes wrong, you can start fresh.
Editing at the wrong volume — Listening too loud can make you over-correct. Mix at a moderate volume (around 75 dB SPL if possible).
Ignoring the full recording — Noise levels often change throughout a recording. A single noise profile might not cover the whole file. Consider processing sections separately.
How to Clean Voice From Webinar Audio Files on Mobile
You’re not limited to desktop tools. Several mobile apps can handle basic webinar audio cleanup.
Lexis Audio Editor (Android) — Offers noise reduction, EQ, and normalization tools similar to Audacity.
Hokusai Audio Editor (iOS) — A solid free editor with noise reduction and basic audio effects.
AudioStretch — Better for pitch and tempo adjustments but also handles basic cleanup.
For serious editing, mobile apps have limitations. But for quick fixes on the go, they work well enough.
When to Hire a Professional Audio Editor
Sometimes the recording is just too far gone. If you’ve tried multiple tools and the audio still sounds bad, it might be time to bring in help.
Signs you need professional help:
- The original recording has severe clipping that can’t be fixed
- Multiple speakers are overlapping and can’t be separated
- The file is corrupt or has large sections missing
- You need broadcast-quality audio for a large audience
Platforms like Fiverr and Upwork have freelance audio engineers who specialize in webinar and podcast cleanup. Rates vary, but basic cleanup often costs $20–$100 per hour of audio.
For a powerful browser-based option you can use yourself before going the professional route, tools like iZotope’s free RX Elements trial let you test professional-grade repair on your files.
FAQs: Cleaning Voice From Webinar Audio Files
Q: Can I clean voice from webinar audio for free? Yes. Audacity is completely free and handles most common audio problems. Adobe Podcast’s Enhance Speech tool is also free for basic use.
Q: Does cleaning audio reduce voice quality? It can, if overdone. Applying too much noise reduction creates a robotic or muffled sound. Always use the preview function and apply changes gradually.
Q: What audio format is best for webinar recordings? WAV is the best quality for editing. MP3 is fine for distribution. If your webinar platform gives you a choice, record in WAV and export to MP3 after editing.
Q: How do I remove only the background noise without affecting the voice? Use noise reduction tools that allow you to set a noise profile from a silent section of the recording. This targets the specific frequencies of the noise without touching the voice.
Q: Can AI tools completely clean a badly recorded webinar? AI tools are impressive, but they have limits. They work best when the voice is reasonably audible. If the recording is severely clipped or has extreme reverb, AI alone may not be enough.
Q: How long does it take to clean a one-hour webinar recording? With AI tools, processing takes a few minutes. Manual editing in Audacity could take 1–3 hours for a one-hour recording, depending on how many issues need fixing.
Q: What’s the difference between noise removal and noise reduction? Noise removal tries to eliminate all background noise. Noise reduction lowers it without fully removing it. Noise reduction is usually safer because it’s less likely to damage the voice signal.
Wrapping It All Up
Knowing how to clean voice from webinar audio files isn’t just a technical skill — it’s a way to respect your audience’s time and attention. Poor audio is the number one reason people stop watching or listening to recorded content. Great audio keeps them engaged.
The process doesn’t have to be complicated. Start with Audacity if you’re on a budget. Use AI tools like Adobe Podcast for fast, automatic cleanup. Upgrade to iZotope RX or Adobe Audition when you need professional results. And always, always keep your original file as a backup.
The more you practice, the faster and more intuitive the process becomes. And once you hear the difference between a raw, noisy webinar recording and a clean, polished one, you’ll never go back to skipping this step.
Clean audio builds trust. And trust builds an audience.