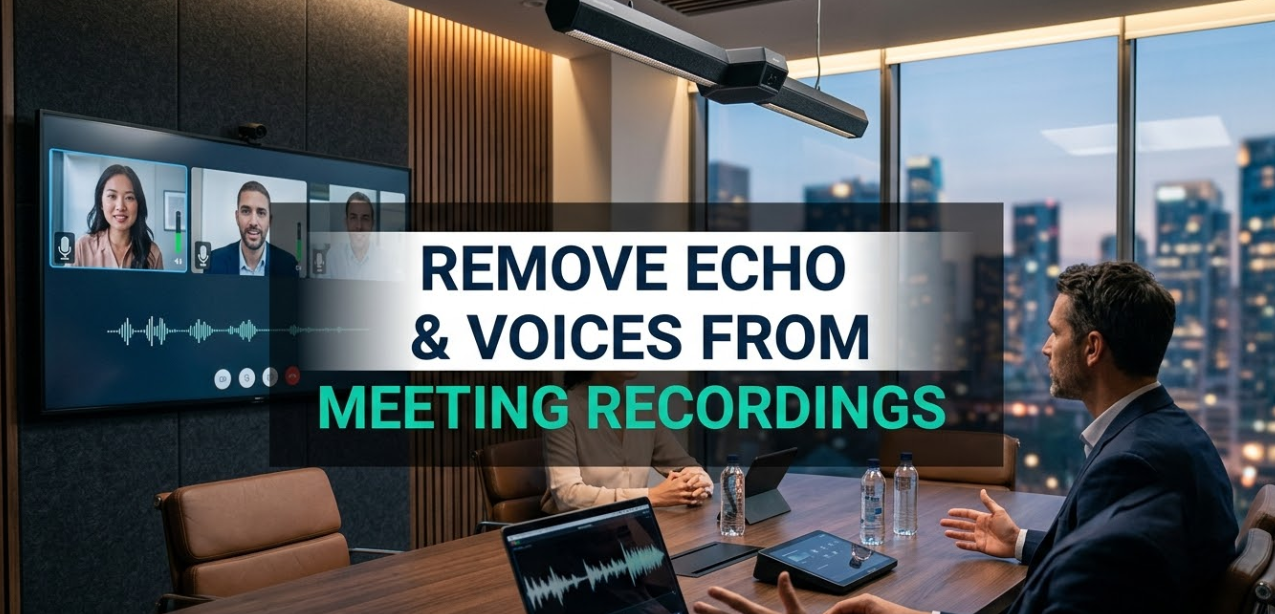
If you’ve ever listened back to a recorded meeting and cringed at the hollow, bouncy sound, you’re not alone. Millions of remote workers face the same frustration every day. Whether it’s a Zoom call, a Microsoft Teams session, or a recorded podcast interview, echo and unwanted voices can completely ruin a recording. The good news? You can remove echo and voices from meeting recordings without being a professional audio engineer — and this guide will show you exactly how to do it.
Echo happens when sound bounces off hard surfaces in a room. Voices bleed in when multiple people talk over each other or when background noise leaks through a microphone. Both problems make recordings hard to understand and unprofessional to share. In this guide, you’ll learn what causes these audio problems, which tools work best to fix them, and how to get cleaner recordings from the start.
What Causes Echo and Unwanted Voices in Recordings?
Before you can fix a problem, it helps to know what caused it. Audio issues in meeting recordings usually come from a few common sources.
Room Acoustics
Hard walls, tiled floors, and glass surfaces bounce sound around a room. That bouncing creates echo and reverberation. Reverberation is the “tail” of sound that lingers after someone stops speaking. It makes voices sound distant, unclear, and sometimes almost robotic.
Home offices are especially prone to this problem. A spare bedroom with bare walls and hardwood floors is practically designed to create bad audio.
Microphone Pickup Patterns
Most built-in laptop microphones and cheap headsets pick up sound from all directions. This is called an omnidirectional pattern. While that sounds useful, it means the microphone grabs everything — keyboard clicks, air conditioner hum, and the voices of other people in the room.
Network and Codec Artifacts
Sometimes what sounds like echo is actually a digital artifact. Video conferencing tools compress audio to save bandwidth. That compression can introduce strange doubling effects, especially on slower internet connections. These are different from room echo, but they’re equally annoying.
Speaker Bleed and Crosstalk
When multiple people are on a call and speaking close together, voices can overlap. One person’s voice leaks into another person’s microphone. This crosstalk makes it very difficult to isolate individual speakers.
Best Tools to Remove Echo and Voices From Meeting Recordings
There are many tools available today, ranging from free browser-based apps to professional-grade software. Here’s a breakdown of the most popular options.
AI-Powered Online Tools
Artificial intelligence has changed audio editing forever. AI tools analyze your recording, identify speech patterns, and remove unwanted sound layers automatically. You don’t need to know anything about audio engineering to use them.
VocalRemoverX is one of the most accessible tools for removing vocals and echo from recordings. It uses machine learning to separate voice tracks from background noise, making it easy to clean up meeting audio in just a few clicks. It works directly in the browser — no download required.
Other popular AI-based tools include:
- Adobe Podcast Enhance (formerly Project Shasta) — part of Adobe’s cloud suite, excellent for speech enhancement
- Krisp — a real-time noise cancellation tool that works during live calls and on recordings
- NVIDIA RTX Voice — great for users with NVIDIA graphics cards, removes background noise in real-time
- Cleanvoice AI — designed specifically for podcasters and meeting recordings
Desktop Software Options
For users who need more control, desktop applications offer advanced features that browser-based tools can’t match.
Audacity is free, open-source, and extremely powerful. It has a Noise Reduction effect and a built-in reverb removal tool. The learning curve is steeper than online tools, but it gives you complete control over every frequency.
Adobe Audition is the professional standard. It includes spectral frequency editing, which lets you visually select and remove specific sounds. It’s expensive but worth it for serious content creators.
iZotope RX is widely considered the best audio repair software available. Used by Hollywood studios and podcast professionals, it can separate voices, remove echo, and even fix clipped audio. It’s pricey but unmatched in quality.
Built-In Platform Features
Some video conferencing and recording platforms now have noise suppression built in.
- Zoom has a background noise suppression setting under Audio > Advanced
- Microsoft Teams includes AI noise suppression in the audio settings
- Google Meet offers noise cancellation for Google Workspace users
These built-in tools work during live meetings. For post-recording cleanup, you’ll need a dedicated tool.
How to Remove Echo From a Meeting Recording Step by Step
Let’s walk through the actual process of cleaning up a recorded meeting. These steps work with most of the tools mentioned above.
Step 1 — Upload or Import Your Recording
Start by opening your audio or video file in your chosen tool. Most tools accept MP3, WAV, MP4, M4A, and WebM formats. If your recording is a video file, many tools will extract the audio automatically.
Step 2 — Identify the Problem Areas
Listen through the recording once with headphones. Note the timestamps where echo or unwanted voices are loudest. This gives you a map of what needs fixing before you start processing.
Step 3 — Apply Noise Reduction
In Audacity, select a section of the recording where only background noise is present — no speech. Then go to Effect > Noise Reduction and click Get Noise Profile. Then select the entire recording and apply the effect. This tells the software what “noise” sounds like and removes it from the whole file.
In AI tools like VocalRemoverX or Adobe Podcast Enhance, you simply upload the file and the tool handles this step automatically.
Step 4 — Reduce Echo and Reverb
Echo removal in Audacity uses the Reverb effect in reverse — or more specifically, the DeReverb plugin (available via download). In professional tools like iZotope RX, there’s a dedicated De-Reverb module that works with a single slider.
For AI tools, this is often called “speech enhancement” or “room cleanup” and happens in the same step as noise reduction.
Step 5 — Remove or Isolate Specific Voices
If you need to remove a specific voice — for example, a background talker or someone who shouldn’t be in the final recording — tools like iZotope RX’s Dialogue Isolation module or the vocal separation feature in VocalRemoverX can help. These tools use AI to identify individual voice signatures and separate them.
Step 6 — Export and Review
Once you’ve processed the audio, export it in your preferred format. MP3 is good for sharing. WAV is better for archiving or further editing. Always listen to the final file before sending it out — sometimes processing introduces new artifacts that need a quick fix.
Top Tips for Better Meeting Recordings Before You Hit Record
Fixing audio after the fact takes time and effort. Preventing problems in the first place is always easier. Here are the most effective ways to improve your recording quality from the start.
Use a Directional Microphone
Switch from your laptop’s built-in mic to a cardioid or supercardioid microphone. These pick up sound from directly in front and reject noise from the sides and back. Popular budget options include the Blue Yeti Nano, the Audio-Technica ATR2100, and the Rode NT-USB Mini.
Treat Your Room
You don’t need a professional recording studio. A few simple changes make a big difference:
- Add a rug to a hard floor
- Hang curtains or thick fabric on bare walls
- Use a bookshelf filled with books behind you
- Place foam panels or moving blankets in corners
These changes absorb sound reflections and dramatically reduce room echo.
Position Your Microphone Correctly
Keep your microphone close to your mouth — about 6 to 10 inches away is ideal. The closer the mic is to your voice, the less it picks up from the room. Use a pop filter or windscreen to reduce plosives (the burst of air from “p” and “b” sounds).
Ask Participants to Use Headsets
When remote participants use laptop speakers, your voice plays through their speaker and gets picked up by their microphone. This creates a classic echo loop. Asking everyone to use headsets eliminates this entirely.
Record in a Smaller Room
Larger rooms have more surface area for sound to bounce around. A closet full of clothes is actually one of the best recording spaces you can find. It sounds strange, but the fabric absorbs sound incredibly well.
Removing Specific Voices: When and Why You’d Do It
Sometimes the goal isn’t just to remove echo — it’s to remove a specific voice from a recording entirely. This might be useful in several situations:
- A guest speaker asked to be removed after the fact
- A background voice accidentally got captured
- You want to create a solo version of a panel discussion
- A participant revealed confidential information unintentionally
How Voice Separation Technology Works
Modern AI tools use a technique called source separation. The AI has been trained on thousands of hours of audio and has learned to identify the unique spectral fingerprint of human voices. It can then isolate individual voice tracks — even from heavily mixed recordings.
This is similar to how music tools can separate vocals from instruments in a song. According to research published by Meta AI, hybrid transformer models have made significant advances in audio source separation tasks in recent years.
However, perfect voice removal is still difficult. Results depend on:
- How clearly the voices are separated in the original recording
- Whether the voices overlap frequently
- The quality of the original recording
- The tool you use
For best results, combine multiple tools — use one for noise reduction and another for voice isolation.
Comparing the Top Echo Removal Tools
Here’s a side-by-side look at the most popular tools for people who want to remove echo and voices from meeting recordings:
V
visualize
V
The right choice depends on your budget, how often you need to clean up recordings, and how much control you want over the process.
Common Mistakes People Make When Removing Echo
Even with great tools, it’s easy to make mistakes that make your audio worse. Here are the most common pitfalls and how to avoid them.
Over-Processing the Audio
More is not always better. Applying too much noise reduction removes the echo but also strips away the natural warmth and texture of a voice. The result sounds thin, robotic, and hollow. Always use the lowest setting that gets the job done.
Skipping the Preview Step
Most tools have a preview function. Always use it before applying effects to the whole file. What sounds good in one section might sound terrible in another. Listen to at least three different parts of the recording before committing.
Using Lossy Files
If possible, always work with uncompressed audio (WAV or AIFF). MP3 files have already been compressed, which means some audio information has been permanently removed. When you run echo removal on an MP3, you’re working with degraded data — and the results show it.
Not Checking for Artifacts
After processing, some tools introduce metallic or watery artifacts. This is called “musical noise” in audio engineering. Always listen through the entire processed file, not just a short clip, to catch these issues.
When Is It Too Late? Recordings That Can’t Be Fixed
Most audio problems can be improved significantly. But some recordings are beyond repair, no matter how good your tools are.
If all speakers are talking at the same time and their volumes are equal, voice separation becomes nearly impossible. If the echo is so strong that the original voice is almost inaudible, even the best AI tools will struggle. If the recording was made at an extremely low bit rate (common with some older conferencing systems), the audio data is simply too degraded to recover.
In these cases, your best option is to reshoot or re-record the content if possible. Alternatively, add captions or a transcript to help viewers follow along despite the poor audio.
Batch Processing: Cleaning Multiple Recordings at Once
If you manage regular meetings, webinars, or podcast interviews, you might have dozens or hundreds of recordings to clean up. Doing them one by one takes forever. Fortunately, several tools support batch processing.
Adobe Audition has a Batch Process feature that lets you apply the same effects to an entire folder of files. iZotope RX includes a similar feature called Connect. Some AI tools, including certain tiers of Krisp and Cleanvoice AI, also process multiple files in one session.
For power users, FFmpeg combined with audio processing scripts can automate cleanup at scale. This requires some technical knowledge but is extremely efficient for large volumes.
Exporting Your Clean Recording: Best Formats and Settings
Once your audio is clean, choosing the right export format matters.
For sharing online (YouTube, social media, email): Use MP3 at 320kbps. It’s small enough to share easily while maintaining good quality.
For further editing or archiving: Use WAV at 44.1kHz or 48kHz, 16-bit or 24-bit. These are lossless formats that preserve all the audio information.
For video content: If your recording includes video, export as MP4 with AAC audio at 192kbps or higher.
For podcasts: MP3 at 128kbps (stereo) or 96kbps (mono) is the standard. Mono is often better for voice-only content because it cuts the file size in half with no noticeable quality loss.
Always name your files clearly — include the date, event name, and whether the file is raw or processed. Good file management saves hours of confusion later.
Frequently Asked Questions
Can I remove echo from a video recording, not just audio? Yes. Most tools extract the audio track from a video file, process it, and then re-attach it to the video. Tools like Adobe Audition, iZotope RX, and even some online tools handle this automatically. You can also use a video editor like DaVinci Resolve or Premiere Pro, which both have built-in audio cleanup features.
Does removing echo affect voice quality? It can, if overdone. Light echo removal typically has no noticeable effect on voice quality. Heavy processing can make voices sound unnatural. The key is to use the lightest setting that achieves a clean result and always preview before exporting.
How long does it take to process a recording? Online AI tools typically process a one-hour recording in one to five minutes, depending on your internet speed and the tool’s server load. Desktop software like Audacity processes locally, which can be faster or slower depending on your computer’s processing power.
Can free tools actually remove echo and voices effectively? Yes, for most use cases. Tools like Audacity and Adobe Podcast Enhance are genuinely effective at removing echo from meeting recordings. For voice separation, free tools are more limited — you’ll typically get better results from a paid AI service.
Is it legal to remove someone’s voice from a recording? This depends on your jurisdiction and the context. For your own internal recordings — team meetings, interviews you conducted — editing is generally fine. Removing someone’s voice without their knowledge from a public or legally significant recording could raise ethical or legal questions. When in doubt, consult a legal professional.
What’s the best free tool to remove echo from a Zoom recording? Adobe Podcast Enhance is currently one of the best free options. You simply upload the file, and the AI processes it automatically. Audacity is another strong free choice for users comfortable with a basic learning curve.
Can I remove echo in real-time during a call? Yes. Tools like Krisp and NVIDIA RTX Voice work in real-time, filtering your microphone input before it reaches the call. This means your voice sounds clean to everyone on the call — and if the meeting is being recorded through the platform, the recording will also sound clean.
Does the room size matter when trying to fix echo after recording? Not for the post-processing tools themselves, but room size determines how much echo was captured. Larger rooms with hard surfaces create longer reverb tails, which are harder to remove cleanly. Smaller, softer rooms produce less echo, which is always easier to fix.
Wrapping Up: Clean Audio Is Worth the Effort
Learning how to remove echo and voices from meeting recordings is a skill that pays off every time you hit share. Clear audio makes you sound more professional, helps your audience stay engaged, and shows that you respect their time.
Start with the simplest tool that works for your needs. An online AI tool handles most everyday echo removal quickly and without any technical knowledge. As your needs grow, explore professional options like iZotope RX or Adobe Audition for more control. And invest a little time in your recording environment — even small changes to your room can save hours of post-processing later.
Whether you’re cleaning up a weekly team meeting, a client presentation, or a podcast episode, the tools and techniques in this guide will help you get audio that sounds as clear and professional as the ideas behind it