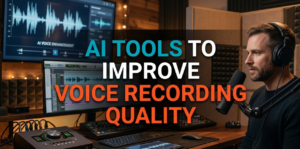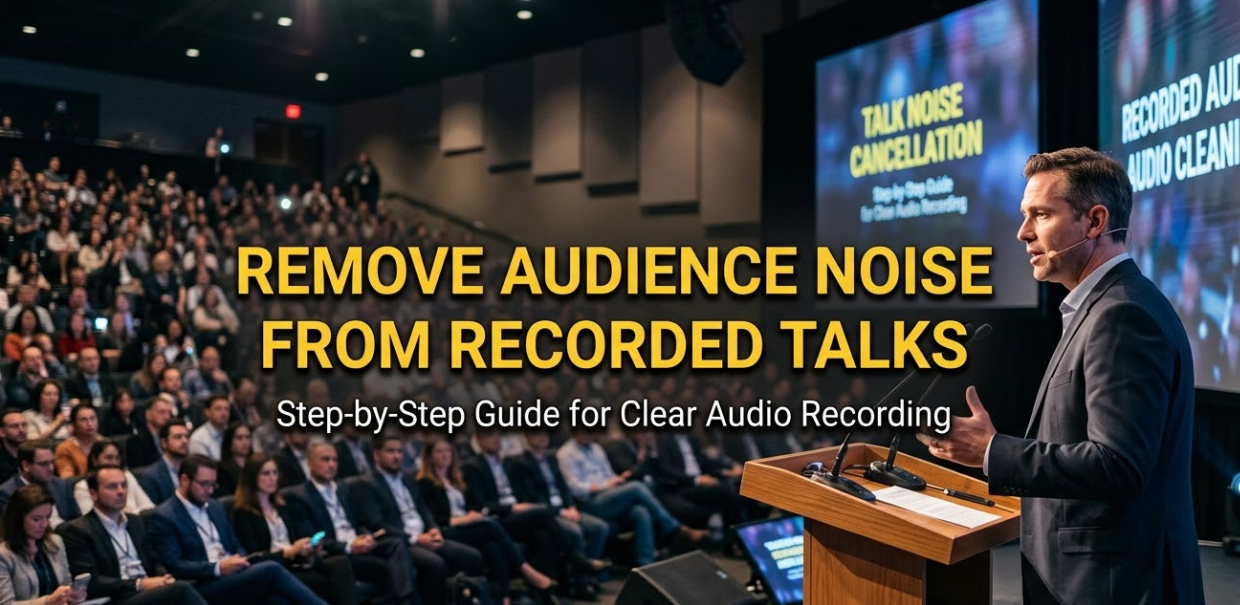
Recording a talk or presentation is exciting — until you play it back and hear the chaos. Coughing, shuffling, whispering, phone buzzing, and random crowd murmurs can completely ruin an otherwise perfect recording. If you’ve ever tried to remove audience noise from recorded talks, you know how frustrating it can be. The good news? With the right tools and techniques, you can clean up almost any recording and make it sound professional. This guide walks you through everything — from why audience noise happens to the exact steps you need to fix it.
Why Audience Noise Ruins Recorded Talks
Before jumping into solutions, it helps to understand the problem.
Audience noise isn’t just annoying — it’s distracting. When viewers or listeners hear constant background sounds, their brain splits focus between the speaker and the noise. This reduces how much information they actually absorb.
Here are the most common types of audience noise found in recorded talks:
| Type of Noise | Common Source | How Disruptive |
|---|---|---|
| Coughing & sneezing | Audience members | High |
| Chair scraping | Movement | Medium-High |
| Paper rustling | Note-taking | Medium |
| Whispering | Side conversations | High |
| Phone buzzing/ringing | Notifications | Very High |
| HVAC hum | Building systems | Low-Medium |
| Footsteps | Latecomers | Medium |
| Laughter/applause | Audience reactions | Situational |
Some of these noises — like laughter or applause — may actually be worth keeping. Others, like coughing or rustling, almost always need to go.
The Two Main Approaches to Remove Audience Noise From Recorded Talks
There are two broad strategies you can use: real-time noise prevention and post-production noise removal. Most people focus only on one, but the best results come from combining both.
Strategy 1 — Prevent Noise During Recording
This is always the best first step. Cleaning up noise after the fact is harder than avoiding it in the first place.
Tips to reduce audience noise during recording:
- Use a directional (cardioid) microphone pointed at the speaker, not the crowd
- Place the microphone close to the speaker’s mouth (within 6–12 inches if possible)
- Use a lavalier (lapel) mic for talks where the speaker moves around
- Ask the audience to silence phones before starting
- Choose quieter venues with good acoustics
- Record during a time when HVAC systems can be temporarily shut off
- Use a mic stand or boom arm to reduce handling noise
Even with all these precautions, some noise will still sneak in. That’s where post-production tools come in.
Strategy 2 — Remove Noise After Recording (Post-Production)
Post-production noise removal is where most of the real work happens. This involves using software to analyze your audio track and filter out unwanted sounds.
The process generally follows these steps:
- Import your audio file into an editing software
- Identify sections with noise
- Apply noise reduction filters or tools
- Fine-tune the settings
- Export the cleaned audio
Let’s break down the best tools available for each type of user.
Best Software Tools to Remove Audience Noise From Recorded Talks
Choosing the right tool depends on your budget, skill level, and the quality of results you need.
For Beginners — Free and Easy Options
1. Audacity
Audacity is a free, open-source audio editor that works on Windows, Mac, and Linux. It has a built-in noise reduction tool that works surprisingly well for basic cleanup.
How to use Audacity’s noise reduction:
- Open your audio file in Audacity
- Find a section with only background noise (no speech)
- Select that section and go to Effect > Noise Reduction
- Click Get Noise Profile
- Select the entire track, go back to Effect > Noise Reduction, and click OK
This teaches Audacity what the “bad” noise sounds like, then it filters it out across the full recording.
2. Adobe Podcast (Enhance Speech)
Adobe offers a free online tool called Adobe Podcast Enhance Speech. You upload your audio, and their AI automatically removes background noise and improves voice clarity. It’s one of the fastest ways to get decent results without any technical skills.
For Intermediate Users — Paid Tools With More Control
3. iZotope RX
iZotope RX is considered the industry gold standard for audio repair. It’s used by professional podcasters, filmmakers, and broadcasters worldwide.
Key features for noise removal:
- Dialogue Isolation — separates speech from everything else
- Spectral De-noise — removes constant background noise
- De-click — removes clicks and pops
- Ambience Match — smooths out gaps left by editing
iZotope RX is not cheap, but it’s worth every penny for serious content creators.
4. Krisp.ai
Krisp is an AI-powered noise cancellation tool that works in real time. While it’s mostly used for calls and live meetings, it also has an audio cleaning feature for recordings. It’s simple, effective, and great for removing crowd noise.
5. NVIDIA RTX Voice / NVIDIA Broadcast
If you have an NVIDIA RTX graphics card, you can use their free Broadcast software. It uses AI to remove background noise from audio in real time and also works on pre-recorded files in some workflows.
For Advanced Users and Professionals
6. DaVinci Resolve (Fairlight Audio)
DaVinci Resolve is a professional video and audio editing suite. Its Fairlight audio engine includes powerful noise reduction tools, including dialogue processing and spectral repair. Best of all, the free version includes most of these features.
7. Adobe Audition
Part of the Adobe Creative Cloud suite, Audition offers advanced audio repair tools including:
- Adaptive Noise Reduction
- Sound Remover
- Spectral Frequency Display for visual editing
Adobe Audition gives you precise control over which frequencies to target — great for removing specific types of audience noise.
Step-by-Step: How to Remove Audience Noise Using Audacity (Detailed Walkthrough)
Since Audacity is free and widely used, here’s a full step-by-step guide.
Step 1 — Download and Install Audacity
Go to Audacity’s official website and download the latest version for your operating system.
Step 2 — Import Your Audio File
Open Audacity and go to File > Import > Audio. Select your recorded talk file. You can work with MP3, WAV, FLAC, and many other formats.
Step 3 — Listen and Identify Problem Areas
Play through your recording. Use the waveform display to spot sections where the audio looks “busier” than normal — this often signals crowd noise or background sounds.
Step 4 — Find a Noise Sample
Look for a moment in the recording where only background noise is present (no one is speaking). This might be at the beginning before the talk starts, or during a long pause.
Click and drag your cursor to select just that noisy section — even 0.5 seconds is enough.
Step 5 — Capture the Noise Profile
Go to Effect > Noise Reduction and click Get Noise Profile. Audacity will analyze that selected section and “memorize” what the noise sounds like.
Step 6 — Select the Full Track
Press Ctrl + A (or Cmd + A on Mac) to select your entire audio track.
Step 7 — Apply Noise Reduction
Go back to Effect > Noise Reduction. You’ll see three sliders:
| Setting | What It Does | Recommended Starting Point |
|---|---|---|
| Noise Reduction (dB) | How much noise to cut | 12–18 dB |
| Sensitivity | How aggressively noise is detected | 6 |
| Frequency Smoothing | Prevents audio artifacts | 3 |
Click Preview to hear the result before applying. If the voice sounds robotic or distorted, lower the Noise Reduction dB. When satisfied, click OK.
Step 8 — Apply Additional Fixes (Optional)
After noise reduction, you may want to:
- Use Equalization to boost vocal frequencies (around 1kHz–4kHz)
- Apply Compression to even out the volume levels
- Use Amplify if the overall audio is too quiet
Step 9 — Export Your Clean Audio
Go to File > Export and choose your preferred format. WAV gives the best quality; MP3 is better for sharing online.
Advanced Technique — Spectral Editing for Surgical Noise Removal
Sometimes, noise reduction filters aren’t enough. A specific cough, a loud bang, or a ringing phone may still survive the filter. That’s where spectral editing comes in.
Spectral editing lets you see your audio as a visual map of frequencies and time. Unwanted sounds appear as bright spots or blobs in specific frequency ranges. You can literally paint over them to remove just that sound — without touching the speech around it.
Tools that support spectral editing:
- iZotope RX (best option)
- Adobe Audition
- DaVinci Resolve Fairlight
This technique takes more time but gives you surgical precision. It’s especially useful for recorded conference talks where a single loud noise ruins an important moment.
How AI Is Changing Audience Noise Removal
Artificial intelligence has made noise removal dramatically better over the last few years. Traditional filters worked by targeting fixed frequency ranges — which often removed parts of the voice along with the noise.
AI-based tools are smarter. They’ve been trained on millions of audio samples and can tell the difference between a human voice and background noise — even when they overlap.
Top AI-powered noise removal tools in 2024:
| Tool | AI-Powered | Free Option | Best For |
|---|---|---|---|
| Adobe Podcast Enhance | ✅ Yes | ✅ Yes | Quick cleanup |
| Krisp.ai | ✅ Yes | ✅ Limited | Meetings & recordings |
| iZotope RX | ✅ Partially | ❌ No | Professional work |
| Descript | ✅ Yes | ✅ Limited | Podcasts & video |
| NVIDIA Broadcast | ✅ Yes | ✅ Yes | RTX GPU users |
| Auphonic | ✅ Yes | ✅ Limited | Podcasters |
AI tools are especially useful when you need to remove audience noise from recorded talks quickly and don’t have hours to spend on manual editing.
Tips to Get the Best Results When Cleaning Up Talk Recordings
Even with the best tools, there are a few common mistakes people make. Avoid these to get better results every time.
Don’t Over-Process the Audio
One of the biggest mistakes is applying too much noise reduction. When you push the settings too hard, the speaker’s voice starts to sound robotic, hollow, or warped. Always use the minimum amount of noise reduction needed to get a clean sound.
Work on a Copy of the Original File
Always keep your original recording untouched. Work on a copy so you can start over if something goes wrong.
Use Multiple Passes Instead of One Heavy Pass
Instead of applying heavy noise reduction in one shot, try applying lighter noise reduction two or three times. This often gives a more natural-sounding result.
Check Your Work on Multiple Devices
Always listen to your cleaned audio on different devices — headphones, phone speakers, laptop speakers. What sounds clean on one device might still have issues on another.
Normalize Your Audio at the End
After cleaning, normalize your audio to bring it to a consistent volume level. In Audacity, go to Effect > Normalize and set it to -1 dB.
Removing Specific Types of Audience Noise — Targeted Solutions
Different noises require different approaches. Here’s a quick reference guide:
Getting Rid of Coughs and Sneezes
These are short, sharp sounds. The best approach is to:
- Find the exact moment in the waveform (it looks like a sharp spike)
- Select that section
- Use Silence or Fade Out/Fade In around it
- Or use spectral repair to fill the gap with nearby ambient sound
Dealing With Constant Background Hum
HVAC systems, projector fans, and traffic create a constant low-level hum. This is the easiest noise to remove because it’s consistent. Audacity’s noise reduction tool handles this very well using the noise profile method described earlier.
Fixing Crowd Murmurs and Whispering
This is trickier because crowd murmurs overlap with voice frequencies. Try:
- Reducing frequencies below 300 Hz (where most murmur energy lives)
- Using AI tools like Adobe Podcast or iZotope’s Dialogue Isolation
- Applying a gentle high-pass filter to cut low-frequency crowd noise
Handling Phone Ringtones and Alerts
These show up as bright, distinct blobs in a spectral editor. Spectral editing in iZotope RX or Adobe Audition lets you erase them precisely.
When to Keep Audience Noise in Your Recording
Not all audience noise should be removed. Sometimes, keeping certain sounds actually improves the listener’s experience.
Sounds worth keeping:
- Applause — signals achievement and builds credibility
- Laughter — shows the speaker is engaging and funny
- “Mmm” or agreement sounds — makes the talk feel live and authentic
- Q&A crowd voices — adds natural conversational flow
Completely sterile audio can sometimes feel cold and disconnected. A little ambient life makes recorded talks feel more human.
The goal isn’t perfect silence — it’s clean, listenable audio where the speaker’s voice is always the star.
For More Resources on Audio Editing and Content Creation
If you’re interested in more guides on digital tools, content production, and technology, check out Cryptonews21 for regularly updated resources across tech and digital media topics.
FAQs — Remove Audience Noise From Recorded Talks
Q1: Can I completely remove all audience noise from a recorded talk?
In most cases, you can remove the majority of audience noise, but 100% elimination isn’t always possible — especially when noise overlaps with the speaker’s voice. The goal is to make the audio clean enough that the noise is no longer distracting.
Q2: What is the best free tool to remove audience noise from recorded talks?
Audacity is the best free option for manual editing. For AI-powered cleaning with zero technical skills required, Adobe Podcast Enhance Speech is free and extremely easy to use.
Q3: Will noise reduction make my audio sound robotic?
It can, if you apply too much. Always start with conservative settings and use the preview feature before committing. Less is often more when it comes to noise reduction.
Q4: How do I remove a single loud cough from a recording?
Find the cough in the waveform (it shows as a sharp spike), select just that section, and either silence it or use spectral repair. iZotope RX’s Spectral Repair tool is the best option for this.
Q5: Can I remove audience noise from a video file?
Yes. You can extract the audio from the video, clean it using audio software, then replace the original audio in your video editor. Most video editors (like DaVinci Resolve or Adobe Premiere) also have built-in noise reduction tools.
Q6: Does removing audience noise affect audio quality?
Light noise reduction has minimal impact on quality. Heavy noise reduction can introduce artifacts and make voices sound unnatural. Always aim for the lightest setting that achieves your goal.
Q7: Is iZotope RX worth the price?
For professionals and serious content creators — absolutely yes. For casual users, the free tools (Audacity, Adobe Podcast) are more than enough.
Q8: How long does it take to clean up a recorded talk?
Simple cleanup using AI tools can take just a few minutes. Manual editing in Audacity or iZotope for a 1-hour recording might take 1–3 hours depending on how noisy the original is.
Wrapping It Up — Clean Audio Makes Every Talk Worth Watching
Whether you’re editing a conference keynote, a university lecture, a podcast interview, or a TEDx-style talk, clean audio is non-negotiable. Viewers will forgive shaky video. They will not forgive bad audio.
The ability to remove audience noise from recorded talks is now more accessible than ever. Free tools like Audacity and Adobe Podcast make it possible for anyone — even without technical experience — to produce clean, professional-sounding recordings.
Start with prevention by using the right microphone setup. Then use the right software to clean up what’s left. And always listen critically on multiple devices before you publish.
Your audience came to hear the speaker — not the crowd. Give them the clarity they deserve.