If you’ve ever sat through a Zoom meeting recording filled with echo, background noise, or muffled voices, you already know how frustrating bad audio can be. Cleaning audio from Zoom meeting recordings isn’t just a technical task — it’s a skill that can make your content sound professional and polished. Whether you’re sharing a recorded webinar, publishing a podcast, or archiving a business meeting, clean audio matters. This guide walks you through everything you need to know, from simple free tools to advanced techniques, to help you get crystal-clear sound every time.
Why Zoom Recordings Sound Bad in the First Place
Before fixing anything, it helps to understand what’s causing the problem.
Zoom compresses audio during recording to save bandwidth. This can result in a thin, robotic, or slightly muffled sound. On top of that, participants often join from noisy environments — think barking dogs, keyboard clacking, HVAC systems humming, or neighbors mowing the lawn.
Here are the most common audio problems found in Zoom recordings:
| Problem | Common Cause |
|---|---|
| Background noise | Participant environment |
| Echo/reverb | Poor room acoustics |
| Low volume | Bad microphone placement |
| Distortion/clipping | Volume set too high |
| Choppy audio | Poor internet connection |
| Robotic sound | Heavy compression by Zoom |
Knowing what you’re dealing with helps you pick the right fix.
Tools You Can Use to Clean Audio From Zoom Recordings
There are both free and paid options available. The best one for you depends on your budget, technical comfort level, and the quality you’re aiming for.
Free Tools Worth Using
Audacity is the go-to free option for most people. It runs on Windows, Mac, and Linux. It’s powerful, it’s open source, and it has built-in tools for noise reduction, equalization, and normalization — all of which are essential when you want to clean audio from Zoom meeting recordings.
Adobe Podcast (Enhance Speech) is a browser-based tool that uses AI to clean up voices in recordings. You just upload your file, and it automatically removes background noise and improves vocal clarity. It’s free to use and shockingly effective.
Krisp works in real time and also has a file upload feature. It’s designed to remove noise from voice recordings, making it ideal for Zoom audio.
Paid Tools That Deliver Professional Results
Adobe Audition is the industry standard for audio editing. It has a spectral frequency display that lets you literally see and remove noise. It’s part of Adobe Creative Cloud.
iZotope RX is what professional audio engineers use. It has tools like Dialogue Isolation, Spectral Repair, De-reverb, and Voice De-noise. If your recordings sound really bad, this is the tool that can salvage them.
Descript combines audio cleaning with transcription and video editing. If you’re working with recorded meetings that also have video, Descript’s Studio Sound feature can clean your audio in one click.
How to Export Your Zoom Recording for Editing
Before you start cleaning, you need the right file.
Zoom saves local recordings as MP4 video files and separate M4A audio files. If you’re using Zoom’s cloud recording, you can download the audio-only file from your Zoom account dashboard.
Steps to get your audio file:
- Open Zoom and go to your account dashboard
- Click “Recordings” in the left menu
- Find the meeting you want to edit
- Click the download icon next to the audio file (M4A format)
- Save it to a folder you can easily find
If you recorded locally, go to your Zoom folder (usually in Documents > Zoom) and find the file from the date of your meeting.
Once you have the file, convert it to WAV or MP3 if your editing tool requires it. Audacity accepts M4A files directly, but other tools may need a conversion first. Use a free converter like CloudConvert or VLC Media Player to do this.
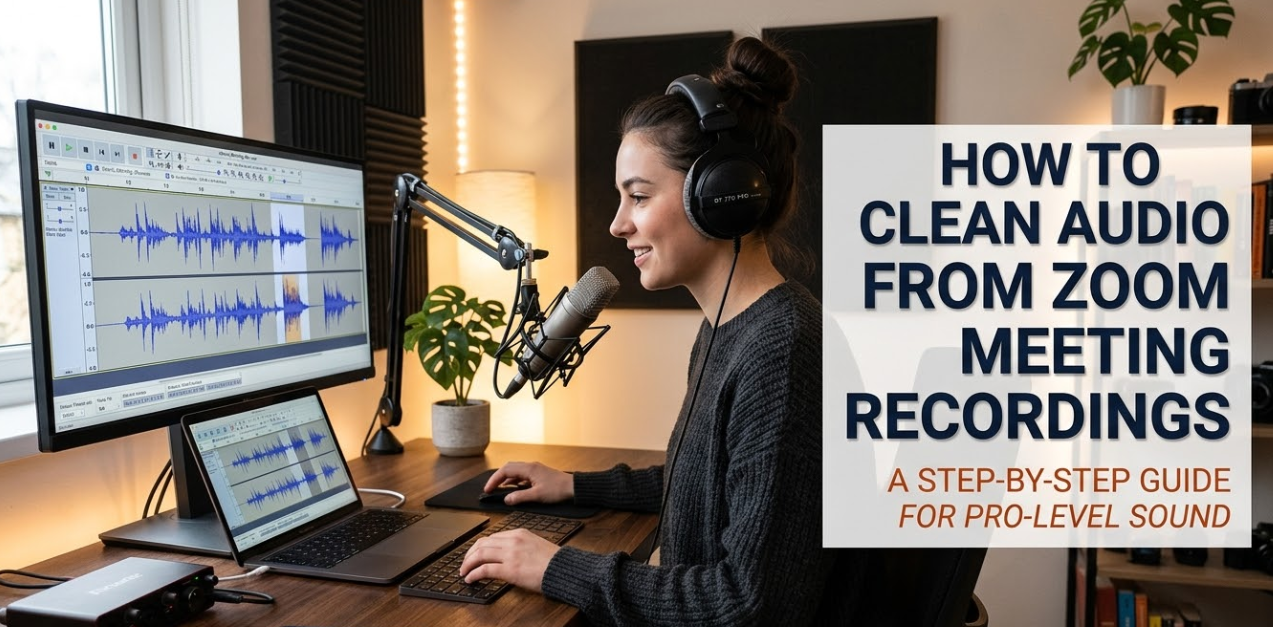
Step-by-Step: How to Clean Audio in Audacity
Audacity is the most accessible free tool for cleaning audio from Zoom meeting recordings. Here’s how to do it from start to finish.
Step 1 — Import Your File
Open Audacity. Go to File > Import > Audio and select your Zoom recording. The waveform will appear on your screen.
Step 2 — Reduce Background Noise
This is the most important step.
First, find a section of your recording where no one is speaking — just the background noise. This could be the first 1–2 seconds, or a pause between speakers.
Highlight that section by clicking and dragging.
Then go to Effect > Noise Reduction (or Noise Removal in older versions).
Click “Get Noise Profile.” Audacity will learn what the background noise sounds like.
Now select your entire track by pressing Ctrl+A (or Cmd+A on Mac).
Go back to Effect > Noise Reduction and click OK. Audacity will apply the noise profile across the whole recording.
Recommended settings:
- Noise Reduction: 12–18 dB
- Sensitivity: 6–8
- Frequency Smoothing: 3
Don’t go too high with the noise reduction, or voices will start to sound unnatural.
Step 3 — Normalize the Volume
After removing noise, normalize the audio so the volume is consistent.
Go to Effect > Normalize. Set the maximum amplitude to -1.0 dB and click OK.
This makes sure the audio is loud enough without clipping.
Step 4 — Apply Equalization (Optional but Helpful)
If voices still sound thin or muffled, try the EQ filter.
Go to Effect > Filter Curve EQ or Graphic EQ.
For voice clarity, try:
- Slightly boost frequencies around 2,000–4,000 Hz (presence and clarity)
- Cut a little around 200–300 Hz (reduces muddiness)
- Roll off below 80 Hz (removes rumble)
Step 5 — Compress the Audio
Compression levels out loud and quiet parts, so the recording sounds more consistent.
Go to Effect > Compressor.
Use these starting settings:
- Threshold: -18 dB
- Ratio: 3:1
- Attack: 0.2 ms
- Release: 1.0 s
Click OK and listen to the result.
Step 6 — Export the Cleaned File
Go to File > Export > Export as MP3 (or WAV for higher quality). Name your file and save it.
You now have a cleaned version of your Zoom recording.
Using Adobe Podcast to Automatically Clean Audio
If Audacity feels too technical, Adobe Podcast’s Enhance Speech tool is a fantastic alternative. It uses AI to process recordings automatically.
Here’s how it works:
- Visit Adobe Podcast Enhance Speech
- Upload your Zoom audio file (MP3, M4A, or WAV)
- Wait a moment while Adobe’s AI processes the file
- Download the enhanced version
The result is usually significantly better — less background noise, clearer voices, and better overall balance. The best part? You don’t need to know anything about audio editing to use it.
This tool is especially helpful when you need to quickly clean audio from Zoom meeting recordings without spending hours in a DAW (Digital Audio Workstation).
How to Fix Specific Audio Problems
Sometimes you have a very specific problem in your recording. Here’s how to target each one.
Fixing Echo and Reverb
Echo happens when sound bounces off walls and gets picked up by the microphone. iZotope RX’s De-reverb tool handles this best. In Audacity, use the Noise Reduction tool on a section of reverb to reduce it, but it won’t be perfect.
For future recordings, ask participants to record from rooms with carpet, curtains, or soft furniture, which absorb sound naturally.
Fixing Low Volume
If a speaker’s audio is barely audible, select only their sections of audio in Audacity and use Effect > Amplify to boost the volume. Be careful not to boost it so much that it clips (turns red on the waveform).
Fixing Clipping/Distortion
Clipped audio — where someone spoke too loudly and the waveform looks flat at the top — is harder to fix. iZotope RX’s Clip Gain tool can partially reconstruct clipped audio. In Audacity, there’s limited help for true clipping, so prevention is key: always do a sound check before recording.
Fixing Choppy or Robotic Audio
Choppy audio caused by internet issues is very difficult to fix after the fact. If the recording sounds robotic or stutters, you may need to:
- Cut out the worst sections and use a transcript to re-record narration
- Use iZotope RX’s Spectral Repair tool to fill in short gaps
- In severe cases, consider re-recording the affected segments with a new take
Tips to Prevent Bad Audio Before Your Next Zoom Recording
Cleaning audio after the fact is useful, but preventing problems is even better. Here are simple tips anyone can follow.
Use a dedicated microphone. Laptop microphones pick up every sound in the room. A USB condenser microphone (even a budget one) makes a massive difference.
Enable Zoom’s built-in audio settings. Before your meeting, go to Zoom Settings > Audio and turn on:
- Suppress Background Noise (set to High)
- Echo Cancellation
- Auto Adjust Microphone Volume
Record locally instead of to the cloud. Local recordings generally have better audio quality than cloud recordings, which are processed by Zoom’s servers.
Mute participants who aren’t speaking. The host can do this in Zoom settings. It eliminates dozens of background noise sources instantly.
Test your audio setup before recording. Use Zoom’s “Test Speaker and Microphone” feature in Settings > Audio to check everything before the meeting begins.
For more tips on improving your digital workflow and tools, visit Cryptonews21 for helpful guides and resources.
Comparison of Audio Cleaning Tools at a Glance
| Tool | Cost | Ease of Use | Best For |
|---|---|---|---|
| Audacity | Free | Medium | Manual editing, full control |
| Adobe Podcast | Free | Very Easy | Quick AI cleanup |
| Krisp | Freemium | Easy | Real-time + file cleanup |
| Adobe Audition | Paid | Medium | Professional editing |
| iZotope RX | Paid | Advanced | Salvaging badly damaged audio |
| Descript | Paid | Easy | Video + audio + transcription |
How Long Does Audio Cleaning Take?
The time depends on the tool you use and the length of your recording.
- Adobe Podcast (AI): 1–5 minutes for most files
- Audacity (manual): 20–45 minutes for a one-hour recording
- iZotope RX: 30–90 minutes for complex restoration work
- Descript (Studio Sound): 1–3 minutes with AI
If speed matters, go with an AI-powered tool first. If quality matters most, spend the time in Audacity or iZotope RX.
FAQs About Cleaning Audio From Zoom Recordings
Can I clean audio directly inside Zoom? No. Zoom doesn’t have built-in post-processing tools for recorded audio. You need to export the file and use a separate editing tool.
What’s the best free tool to clean Zoom audio? Audacity is the most powerful free option with full manual control. Adobe Podcast is the easiest free option if you want fast, automatic AI results.
Will noise reduction make my audio sound worse? It can if you use too much. Heavy noise reduction creates a metallic or “underwater” sound. Start with conservative settings and listen carefully before exporting.
Can I clean audio from a Zoom cloud recording? Yes. Download the audio file from your Zoom account dashboard and run it through any editing tool you prefer.
Is there a way to fix choppy audio from bad internet? Partially. iZotope RX’s Spectral Repair tool can help with short gaps. For long stretches of choppy audio, re-recording is usually the better option.
How do I stop background noise from ruining future Zoom recordings? Use a dedicated microphone, enable Zoom’s noise suppression, ask participants to mute when not speaking, and record in a quiet room with soft furnishings that absorb sound.
Does cleaning audio reduce file quality? If you export to MP3 after editing, there will be some quality loss due to compression. Export to WAV or FLAC for lossless quality. For most purposes, a 320kbps MP3 is more than good enough.
Can I batch process multiple Zoom recordings at once? Adobe Audition and iZotope RX both support batch processing. Audacity can handle it with macros (called Macros in Audacity’s Tools menu). Adobe Podcast currently processes one file at a time.
The Right Workflow for Your Situation
Not every recording needs the same approach. Here’s a quick guide to choosing the right path.
If you just need to remove background noise quickly → Use Adobe Podcast Enhance Speech. Upload, wait, download. Done.
If you want full control over the audio → Use Audacity. Follow the steps in this guide. It takes more time but gives you the most flexibility.
If the audio is badly damaged or nearly unusable → Invest in iZotope RX. It has tools specifically designed to restore audio that other software can’t fix.
If you’re editing video and audio together → Use Descript. It handles transcription, video editing, and Studio Sound enhancement in one platform.
Wrapping It Up
Cleaning audio from Zoom meeting recordings doesn’t have to be complicated. With the right tool and a clear process, you can transform a muffled, noisy recording into something that sounds crisp and professional. Start with the simplest fix — Adobe Podcast’s AI tool — and if you need more control, step into Audacity for a hands-on approach.
The key is to act early, use the right settings, and don’t over-process. A few small adjustments can make a huge difference in how your recordings sound. And by applying the prevention tips shared in this guide, your future Zoom recordings will need far less cleanup from the start.
Clean audio isn’t just about quality — it’s about respect for your audience’s time and attention. Now you have everything you need to deliver recordings that are worth listening to.