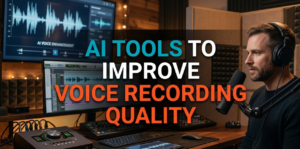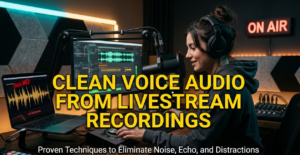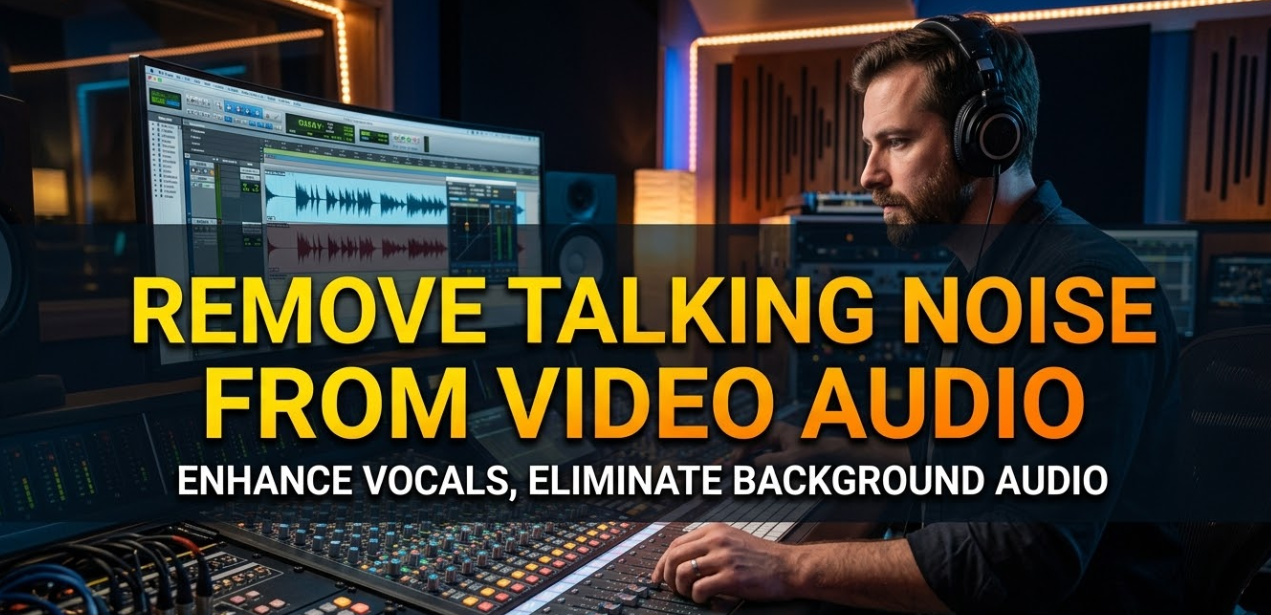
Have you ever recorded a video only to find your voice buried under buzzing fans, street traffic, keyboard clicks, or echo? You’re not alone. Whether you’re a student creating a school project, a content creator, a gamer streaming online, or someone jumping on a video call — remove talking noise from video audio is one of the most searched topics in the world of digital media.
The good news? You don’t need to be a professional sound engineer to fix it. With the right tools and a few smart steps, you can clean up your video audio and make your voice sound crystal clear.
This guide walks you through everything — from what causes audio noise to the best free and paid tools, step-by-step methods, and pro tips that actually work.
Why Your Video Audio Sounds Noisy in the First Place
Before you fix a problem, you need to understand it. Audio noise doesn’t just randomly appear — it comes from specific sources.
The Most Common Types of Background Noise in Videos
| Noise Type | What Causes It | How It Sounds |
|---|---|---|
| Hiss / Static | Microphone sensitivity, electrical interference | Constant “ssss” sound |
| Hum / Buzz | Power cables, fluorescent lights, AC units | Low, steady drone |
| Room Echo | Hard walls, empty rooms, poor mic placement | Voice sounds hollow, distant |
| Wind Noise | Outdoor recording, air vents, fans nearby | Rushing, wobbly sound |
| Typing/Clicks | Keyboard, mouse, nearby movement | Sporadic tap sounds |
| Traffic / People | Open windows, public spaces | Unpredictable bursts of sound |
Each of these noise types responds differently to removal techniques. Understanding the type you’re dealing with helps you choose the right method.
Why Noise Removal Matters More Than You Think
Viewers will tolerate a blurry video far longer than they will tolerate bad audio. Studies in video production consistently show that poor sound quality drives viewers away faster than poor video quality. If your audience can’t hear you clearly, they leave — no matter how great your content is.
That’s why learning to remove talking noise from video audio isn’t just a technical skill. It’s a core part of making great content.
How Audio Noise Removal Actually Works
When software removes noise from audio, it’s not magic. It uses a process called noise profiling combined with frequency filtering.
The Science Behind Noise Reduction
Here’s a simple breakdown of what happens under the hood:
- The software samples the noise — It listens to a short clip of just the background sound (no voice).
- It creates a noise profile — This is basically a “fingerprint” of the unwanted sound.
- It subtracts the noise pattern from the full audio track.
- The voice remains — Because speech patterns are very different from steady background noise, the algorithm keeps them intact.
This works brilliantly for constant noise like fans or hum. It works less well for sudden, unpredictable sounds like a dog barking or a slamming door. Those require a different approach called transient noise removal or de-click tools.
Best Free Tools to Remove Talking Noise From Video Audio
You don’t have to spend money to get clean audio. Several free tools are incredibly powerful.
1. Audacity — The Classic Free Option
Audacity has been the go-to free audio editor for over two decades. It runs on Windows, Mac, and Linux, and its noise reduction feature is remarkably effective.
How to use Audacity to remove noise:
- Open your audio or video file in Audacity (it can import most formats).
- Select a section of audio that contains only background noise — no voice.
- Go to Effect → Noise Reduction → Get Noise Profile.
- Select your entire audio track (Ctrl+A or Cmd+A).
- Go back to Effect → Noise Reduction and click OK.
- Export your cleaned audio as MP3, WAV, or another format.
- Merge it back with your video using a free editor like DaVinci Resolve.
Best for: Students, beginners, anyone who wants professional-grade results without spending a dollar.
2. Adobe Podcast (Enhance Speech) — AI-Powered and Free Online
Adobe’s free online tool called Adobe Podcast Enhance Speech is one of the most impressive AI-powered audio cleaners available right now. You simply upload a file, and the AI removes background noise automatically — in seconds.
Steps to use it:
- Go to podcast.adobe.com/enhance
- Upload your audio or video file
- Wait for the AI to process it (usually under a minute)
- Download the cleaned version
No account is required for basic use. It handles hiss, room noise, and echo incredibly well.
Best for: Quick fixes, vloggers, podcasters, students in a hurry.
3. DaVinci Resolve — Professional Video Editor With Built-In Noise Removal
DaVinci Resolve is free and has a built-in Noise Reduction feature in its Fairlight audio panel.
How to remove noise in DaVinci Resolve:
- Import your video into the timeline.
- Open the Fairlight panel (audio editor).
- Select your audio clip and open Effects → Noise Reduction.
- Click Learn to sample the noise.
- Adjust the reduction strength.
- Export your video as usual.
Best for: Video creators who edit and clean audio in the same program.
4. NVIDIA RTX Voice / NVIDIA Broadcast — Real-Time Noise Removal
If you have an NVIDIA GPU, this is a game-changer. NVIDIA Broadcast removes background noise in real-time — meaning it cleans your voice live during streaming, gaming, or video calls.
Best for: Streamers, gamers, people on video calls, live content creators.
Paid Tools That Professionals Use
Sometimes free tools aren’t enough — especially for serious content creators or businesses. Here are the top paid options.
iZotope RX — The Industry Standard
iZotope RX is considered the gold standard for audio repair. Professionals in Hollywood and music studios use it to restore damaged recordings.
Key features:
- Dialogue Isolation (separates voice from background)
- De-hum, De-click, De-clip tools
- Spectral Repair (surgically removes specific sounds visually)
- Music Rebalance
Price: Starts at around $99 for the Elements version.
Krisp — AI Noise Cancellation for Calls
Krisp works as a virtual microphone that filters noise before it enters any app — Zoom, Teams, Discord, Skype, or any recording software.
Best for: Remote workers, teachers, streamers, customer support teams.
Price: Free tier available; Pro plan is approximately $8/month.
Descript — Edit Audio Like a Document
Descript is unique. You edit your transcript like a Word document, and the audio edits happen automatically. Its Studio Sound feature cleans voice audio with AI.
Best for: Podcasters, YouTubers, course creators.
Step-by-Step: How to Remove Talking Noise From Video Audio in Audacity
This is the most detailed walkthrough in the guide because Audacity is available to everyone.
What You’ll Need
- A computer (Windows, Mac, or Linux)
- Audacity (free download at audacityteam.org)
- Your video file (MP4, MOV, AVI, etc.)
- FFmpeg library installed (allows Audacity to open video files)
Step 1 — Extract or Import Your Audio
Open Audacity and drag your video file in. If Audacity shows an error, you may need to install the free FFmpeg library first. Once imported, you’ll see the audio waveform displayed as a blue wave.
Step 2 — Find a Noise-Only Section
Look for a part of the waveform where there’s no talking — just background noise. This is usually at the beginning or end of a recording before you start speaking. Click and drag to highlight that 1–3 second section.
Step 3 — Get the Noise Profile
With your noise-only section highlighted, go to: Effect → Noise Reduction → Get Noise Profile
Audacity quietly “memorizes” what the background noise sounds like.
Step 4 — Apply Noise Reduction to the Full Track
Press Ctrl+A (or Cmd+A on Mac) to select the entire audio track. Then go to: Effect → Noise Reduction
You’ll see three sliders:
- Noise reduction (dB): How much noise to remove. Start at 12–18 dB.
- Sensitivity: How aggressively the tool hunts for noise. Keep it between 5–10.
- Frequency smoothing: Keeps the audio sounding natural. 3–6 is a good starting range.
Click Preview to hear the result. Adjust sliders if needed. Click OK when satisfied.
Step 5 — Apply Amplification (Optional)
After noise reduction, your audio might sound slightly quieter. Go to: Effect → Amplify
Let Audacity auto-set the amplification and click OK to boost the volume back up.
Step 6 — Export the Clean Audio
Go to File → Export → Export as MP3 (or WAV for higher quality). Save it to your desktop.
Step 7 — Merge Back With Your Video
Use a free video editor like DaVinci Resolve, CapCut, or Kdenlive to:
- Import your original video
- Remove (mute) the original audio track
- Import your cleaned audio file
- Align them so they sync perfectly
- Export the final video
Quick Comparison: Free vs Paid Noise Removal Tools
| Tool | Cost | Ease of Use | Best For | Real-Time? |
|---|---|---|---|---|
| Audacity | Free | Medium | Detailed editing | No |
| Adobe Podcast | Free | Very Easy | Quick online fixes | No |
| DaVinci Resolve | Free | Medium | Full video editing | No |
| NVIDIA Broadcast | Free (GPU req.) | Easy | Streaming, calls | Yes |
| iZotope RX | $99+ | Advanced | Pro-grade repair | No |
| Krisp | Free / $8/mo | Very Easy | Calls, remote work | Yes |
| Descript | $12+/mo | Easy | Podcasters, YouTubers | No |
7 Smart Tips to Get Even Cleaner Audio
Even after using noise removal tools, these habits will make a big difference.
Record in a Quiet Space First
No software can fully replace a good recording environment. A small, carpeted room with soft furniture is ideal. Hard floors and bare walls create echo.
Use a Pop Filter or Foam Windshield
These inexpensive accessories (usually $5–$15) dramatically reduce plosive sounds (the “pop” from letters like P and B) and wind noise.
Keep Your Microphone Close to Your Mouth
The closer the mic is to your voice, the more voice the mic picks up relative to background noise. This naturally improves your signal-to-noise ratio.
Don’t Apply Too Much Noise Reduction
Over-processing is a real problem. Applying too much noise reduction creates a “watery” or “robotic” sound. Always use the minimum amount that gives you a clean result.
Record a Noise Floor Sample at the Start
Before you begin speaking in every recording, let the recording run for 5 seconds in silence. This gives you a perfect noise sample for tools like Audacity.
Check Your Audio With Headphones
Laptop speakers often hide noise problems. Always monitor your audio quality using headphones before publishing.
Normalize Your Audio Levels After Cleaning
After noise removal, normalize your audio to around -1 dB to -3 dB peak levels. This ensures consistent volume across your entire video.
How to Remove Noise From Video Audio on Mobile
Mobile apps have come a long way. You don’t need a desktop computer to clean your audio anymore.
Best Mobile Apps for Noise Removal
1. CapCut (iOS & Android) CapCut now includes a “Noise Reduction” feature directly in its video editor. Tap your audio clip, select “Noise Reduction,” and the app does the rest automatically. It’s fast, free, and surprisingly effective.
2. Adobe Premiere Rush (iOS & Android) The mobile version of Adobe’s editor includes basic audio enhancement tools. It syncs with the desktop version too.
3. Krisp Mobile (iOS) Krisp works on mobile for call cleanup during live conversations.
4. Dolby On (iOS & Android) Dolby’s free app records and cleans audio simultaneously. It applies noise reduction, EQ, and dynamics processing in real-time on your phone.
Understanding Noise Reduction Settings
Most noise reduction tools share similar settings. Knowing what each one does helps you get better results faster.
| Setting | What It Does | Safe Range |
|---|---|---|
| Noise Reduction (dB) | Strength of noise removal | 6–18 dB |
| Sensitivity / Threshold | How aggressively the tool hunts noise | 5–10 |
| Attack / Release | How fast the tool reacts to sound changes | Medium |
| Frequency Smoothing | Prevents metallic/watery artifacts | 3–6 |
| Preview | Lets you hear results before applying | Always use it |
Common Mistakes People Make When Removing Audio Noise
Applying noise reduction multiple times
Running noise reduction twice doesn’t make audio twice as clean. It makes it sound processed and artificial. Apply it once, carefully.
Selecting the wrong noise sample
If your “noise sample” accidentally includes part of your voice, the tool will also try to remove your voice. Always sample pure background noise only.
Forgetting to check lip sync after replacing audio
After swapping your cleaned audio back into the video, always watch a few sections to make sure the voice still matches the lip movement. Even a small offset is noticeable.
Expecting perfection from one tool
Sometimes you need multiple passes with different tools. For example, use Audacity to remove hiss, then use Adobe Podcast to handle residual echo.
For more digital media tips and tutorials, visit CryptoNews21 — a hub for tech, tools, and digital content creation guides.
For technical deep dives into audio processing and professional standards, the Audio Engineering Society (AES) offers a wealth of research and resources used by pros worldwide.
FAQs: Remove Talking Noise From Video Audio
Q1: Can I remove background noise from a video without losing voice quality? Yes, if you use the right settings. The key is to apply moderate noise reduction and always preview before applying. Tools like iZotope RX and Adobe Podcast Enhance Speech are especially good at preserving voice clarity while removing noise.
Q2: What is the fastest way to remove talking noise from video audio for free? Adobe Podcast Enhance Speech is the fastest free method. Upload your file online and get clean audio back in seconds — no software installation needed.
Q3: Can I remove noise from a video directly without extracting the audio? Yes. Tools like DaVinci Resolve, CapCut, and Premiere Pro let you apply noise reduction directly to the video’s audio track without needing to extract it first.
Q4: Why does my voice sound robotic after noise reduction? This happens when you apply too much reduction. Lower the noise reduction strength (in Audacity, try 6–12 dB instead of 20+) and increase the frequency smoothing. Always use the Preview button before applying.
Q5: Does NVIDIA Broadcast work with any microphone? Yes. It works as a virtual audio device and can be used with any microphone, including cheap USB or built-in laptop mics. However, it requires an NVIDIA RTX GPU.
Q6: What’s the difference between noise reduction and noise cancellation? Noise reduction is applied after recording — it processes existing audio to remove unwanted sounds. Noise cancellation (like in NVIDIA Broadcast or Krisp) works in real-time, preventing noise from being captured in the first place. Both are effective, but real-time cancellation is better for live situations.
Q7: How do I remove echo from my video audio? Echo (room reverb) is harder to remove than steady background noise. Tools like iZotope RX’s De-reverb or Adobe Podcast’s Enhance Speech handle echo well. In Audacity, you can try the Normalize and Compressor effects to reduce its impact.
Q8: Can AI automatically remove background noise? Absolutely. AI-powered tools like Adobe Podcast, Krisp, and Descript’s Studio Sound use machine learning to detect and separate voice from noise automatically. These tools are improving rapidly and often produce better results than traditional manual methods.
Conclusion: Clean Audio Is Within Your Reach
Learning to remove talking noise from video audio doesn’t require expensive equipment or years of training. With free tools like Audacity and Adobe Podcast, and a handful of smart habits, anyone can produce clean, professional-sounding audio.
The key takeaways from this guide:
- Understand what type of noise you’re dealing with before choosing a tool.
- Use a noise profile/sample approach for constant background noise.
- Don’t over-process — less is often more in audio editing.
- Combine tools when one isn’t enough.
- Fix your recording environment whenever possible to reduce the problem at the source.
Whether you’re creating YouTube videos, recording online classes, gaming streams, or professional presentations — clear audio makes everything better. Start with the free tools, practice the steps, and you’ll notice the difference immediately.